Showing posts with label Work. Show all posts

01 January 2013

13 Plans for a New Year

We're all making New Year's resolutions. I have a few personal ones of my own, but they have nothing to do with this blog. This being Yet Another Mechanical Engineering Blog, I will focus on my engi-nerd-hack-robot-ing goals for this year, or at least the coming IAP (January semester) and Spring semester. 


0. Tune Up Cruscooter

It's a dirty hot mess. Needs major rewiring. And a working brake. 

1. Build a semi-autonomous Quadrotor
WAY more details about this coming soon. This will be one of my first projects of IAP.


2. Build a Bi-copter/Tiltrotor. A la V22 Osprey. 

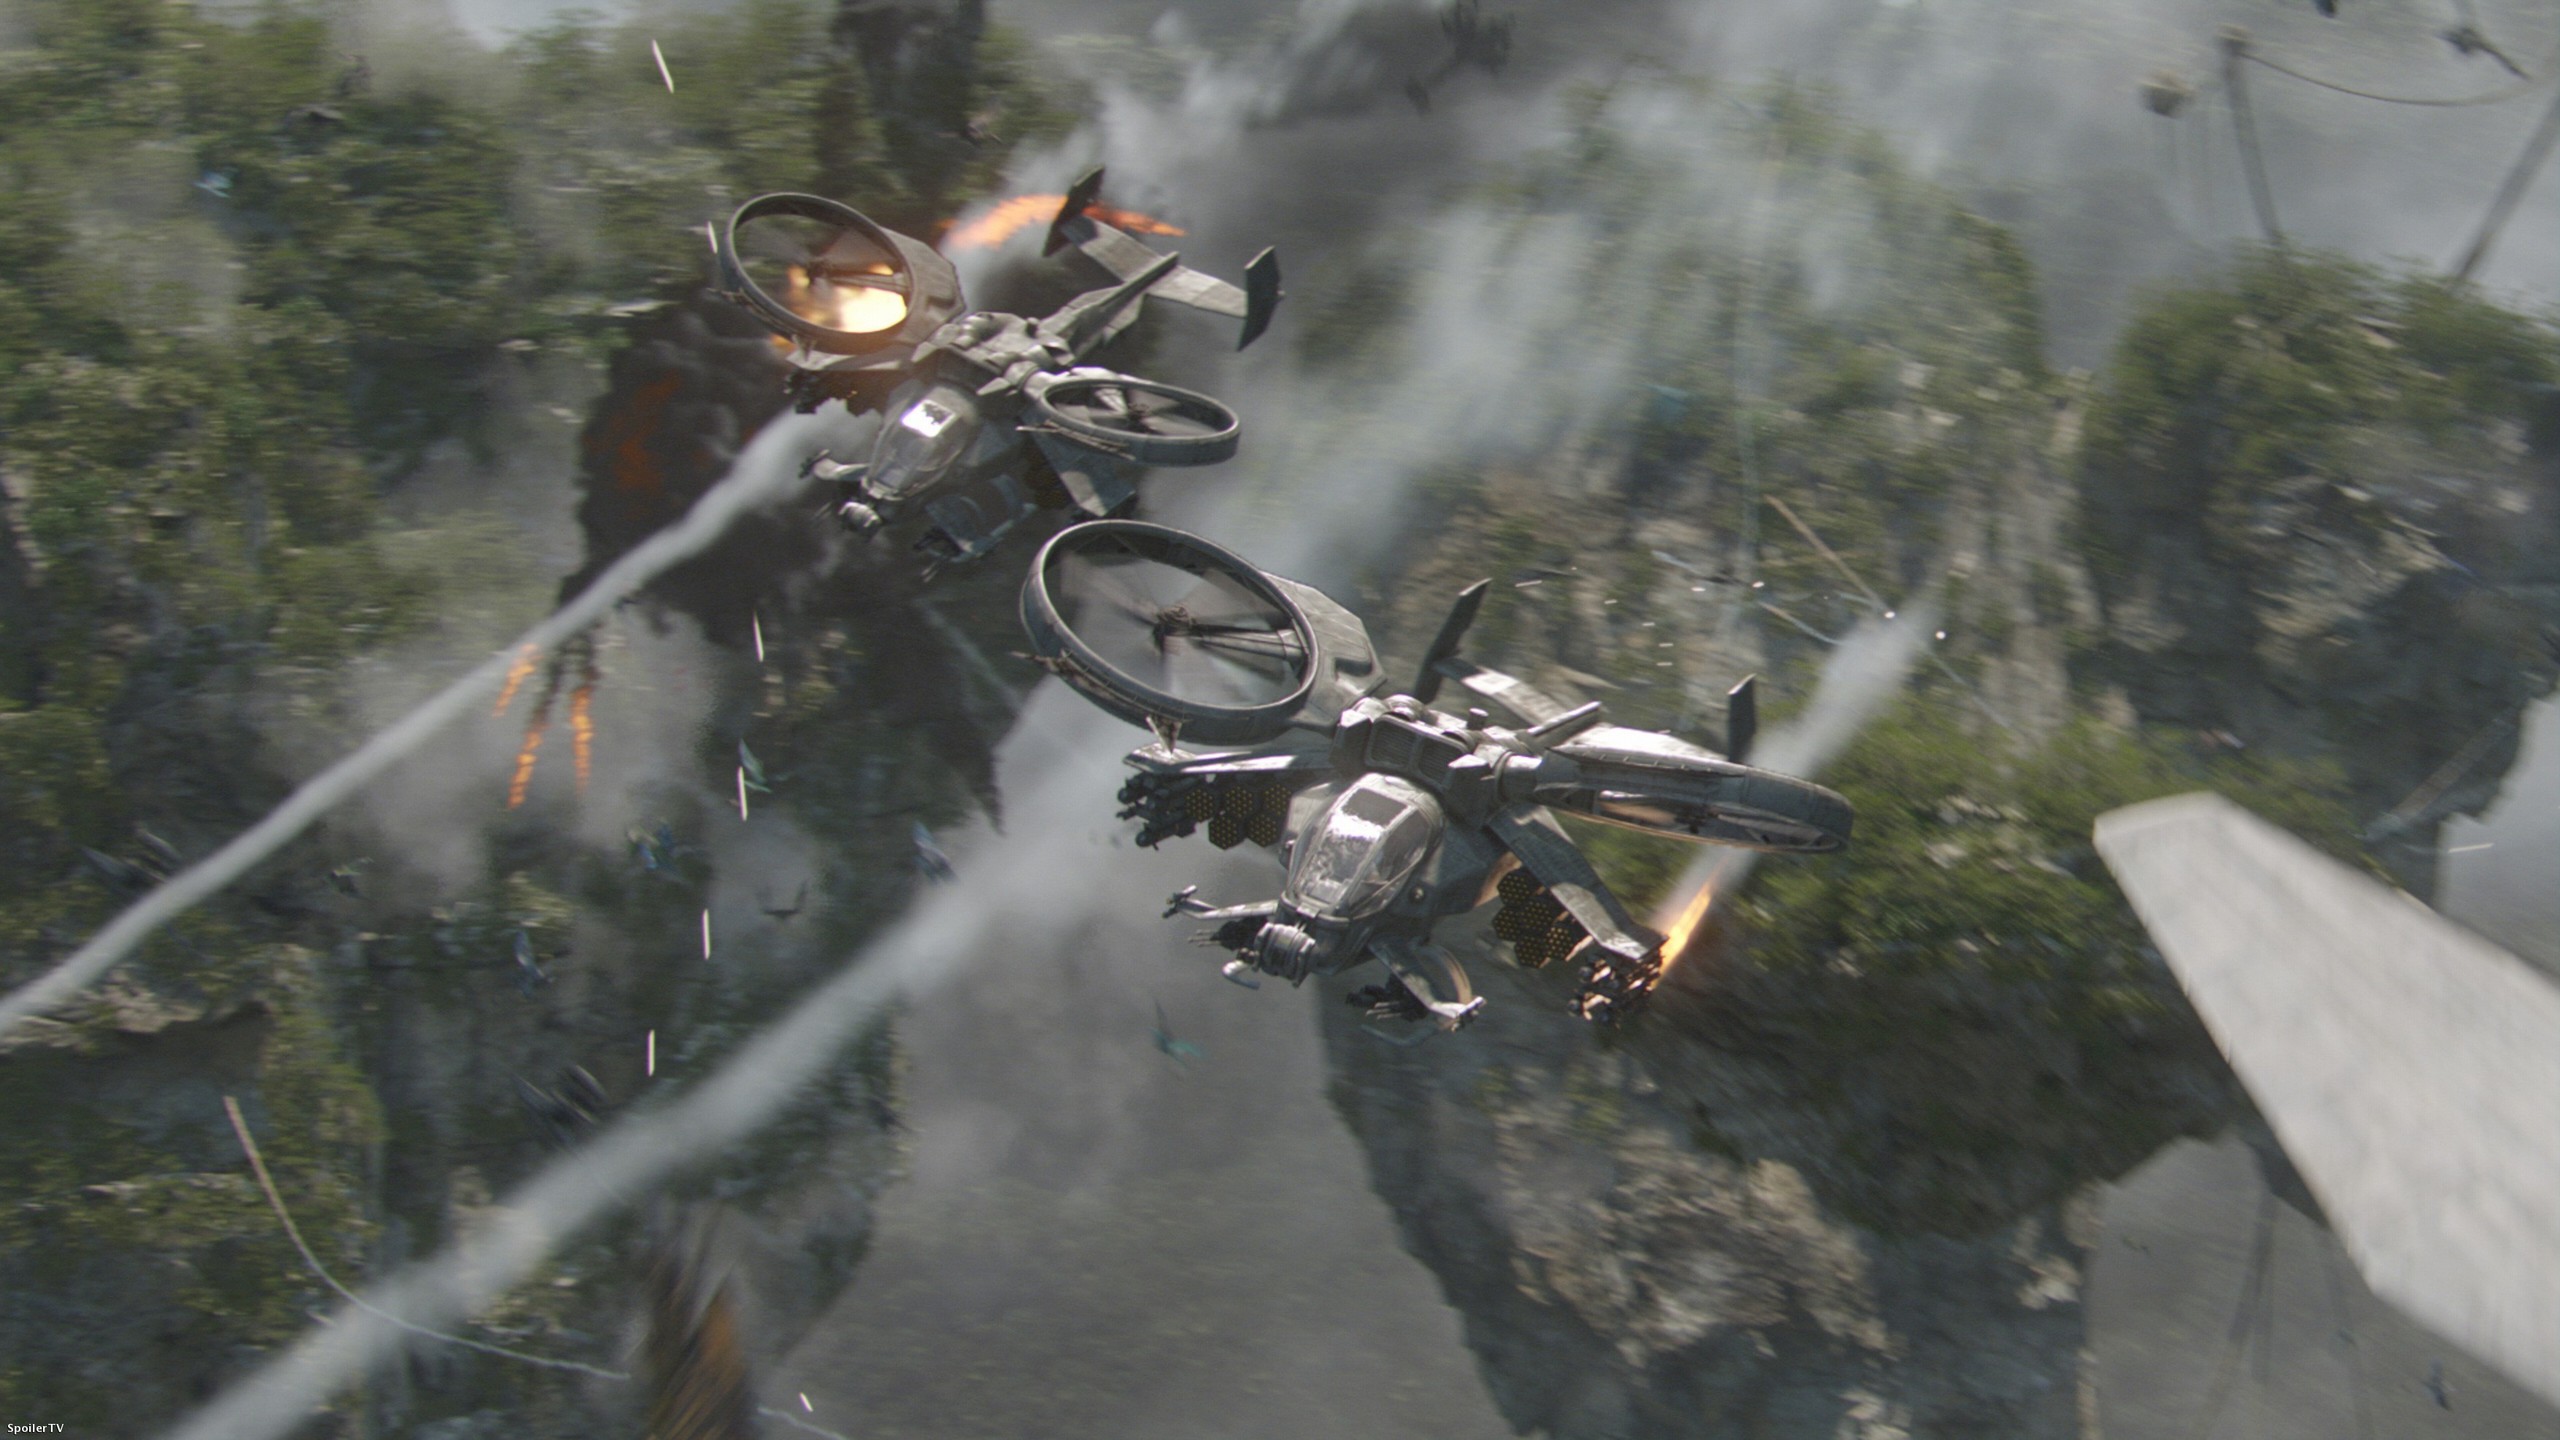
Something I've been wanting to do since I saw the attack choppers in James Cameron's Avatar. And something I tried to do last year when I knew nothing. Now I know a little something, and building a quadrotor will help give me an intuition for flying things. 

3. Win MASLAB.

It's a ballsy goal. But hey, I'm a freakin' engineering diva.

4. Finish MelonChopper

Cannot wait til I can drift this thing in the snow :p

5. Learn to weld steel.
So I can build Certified Legit vehicles. For cheap. 
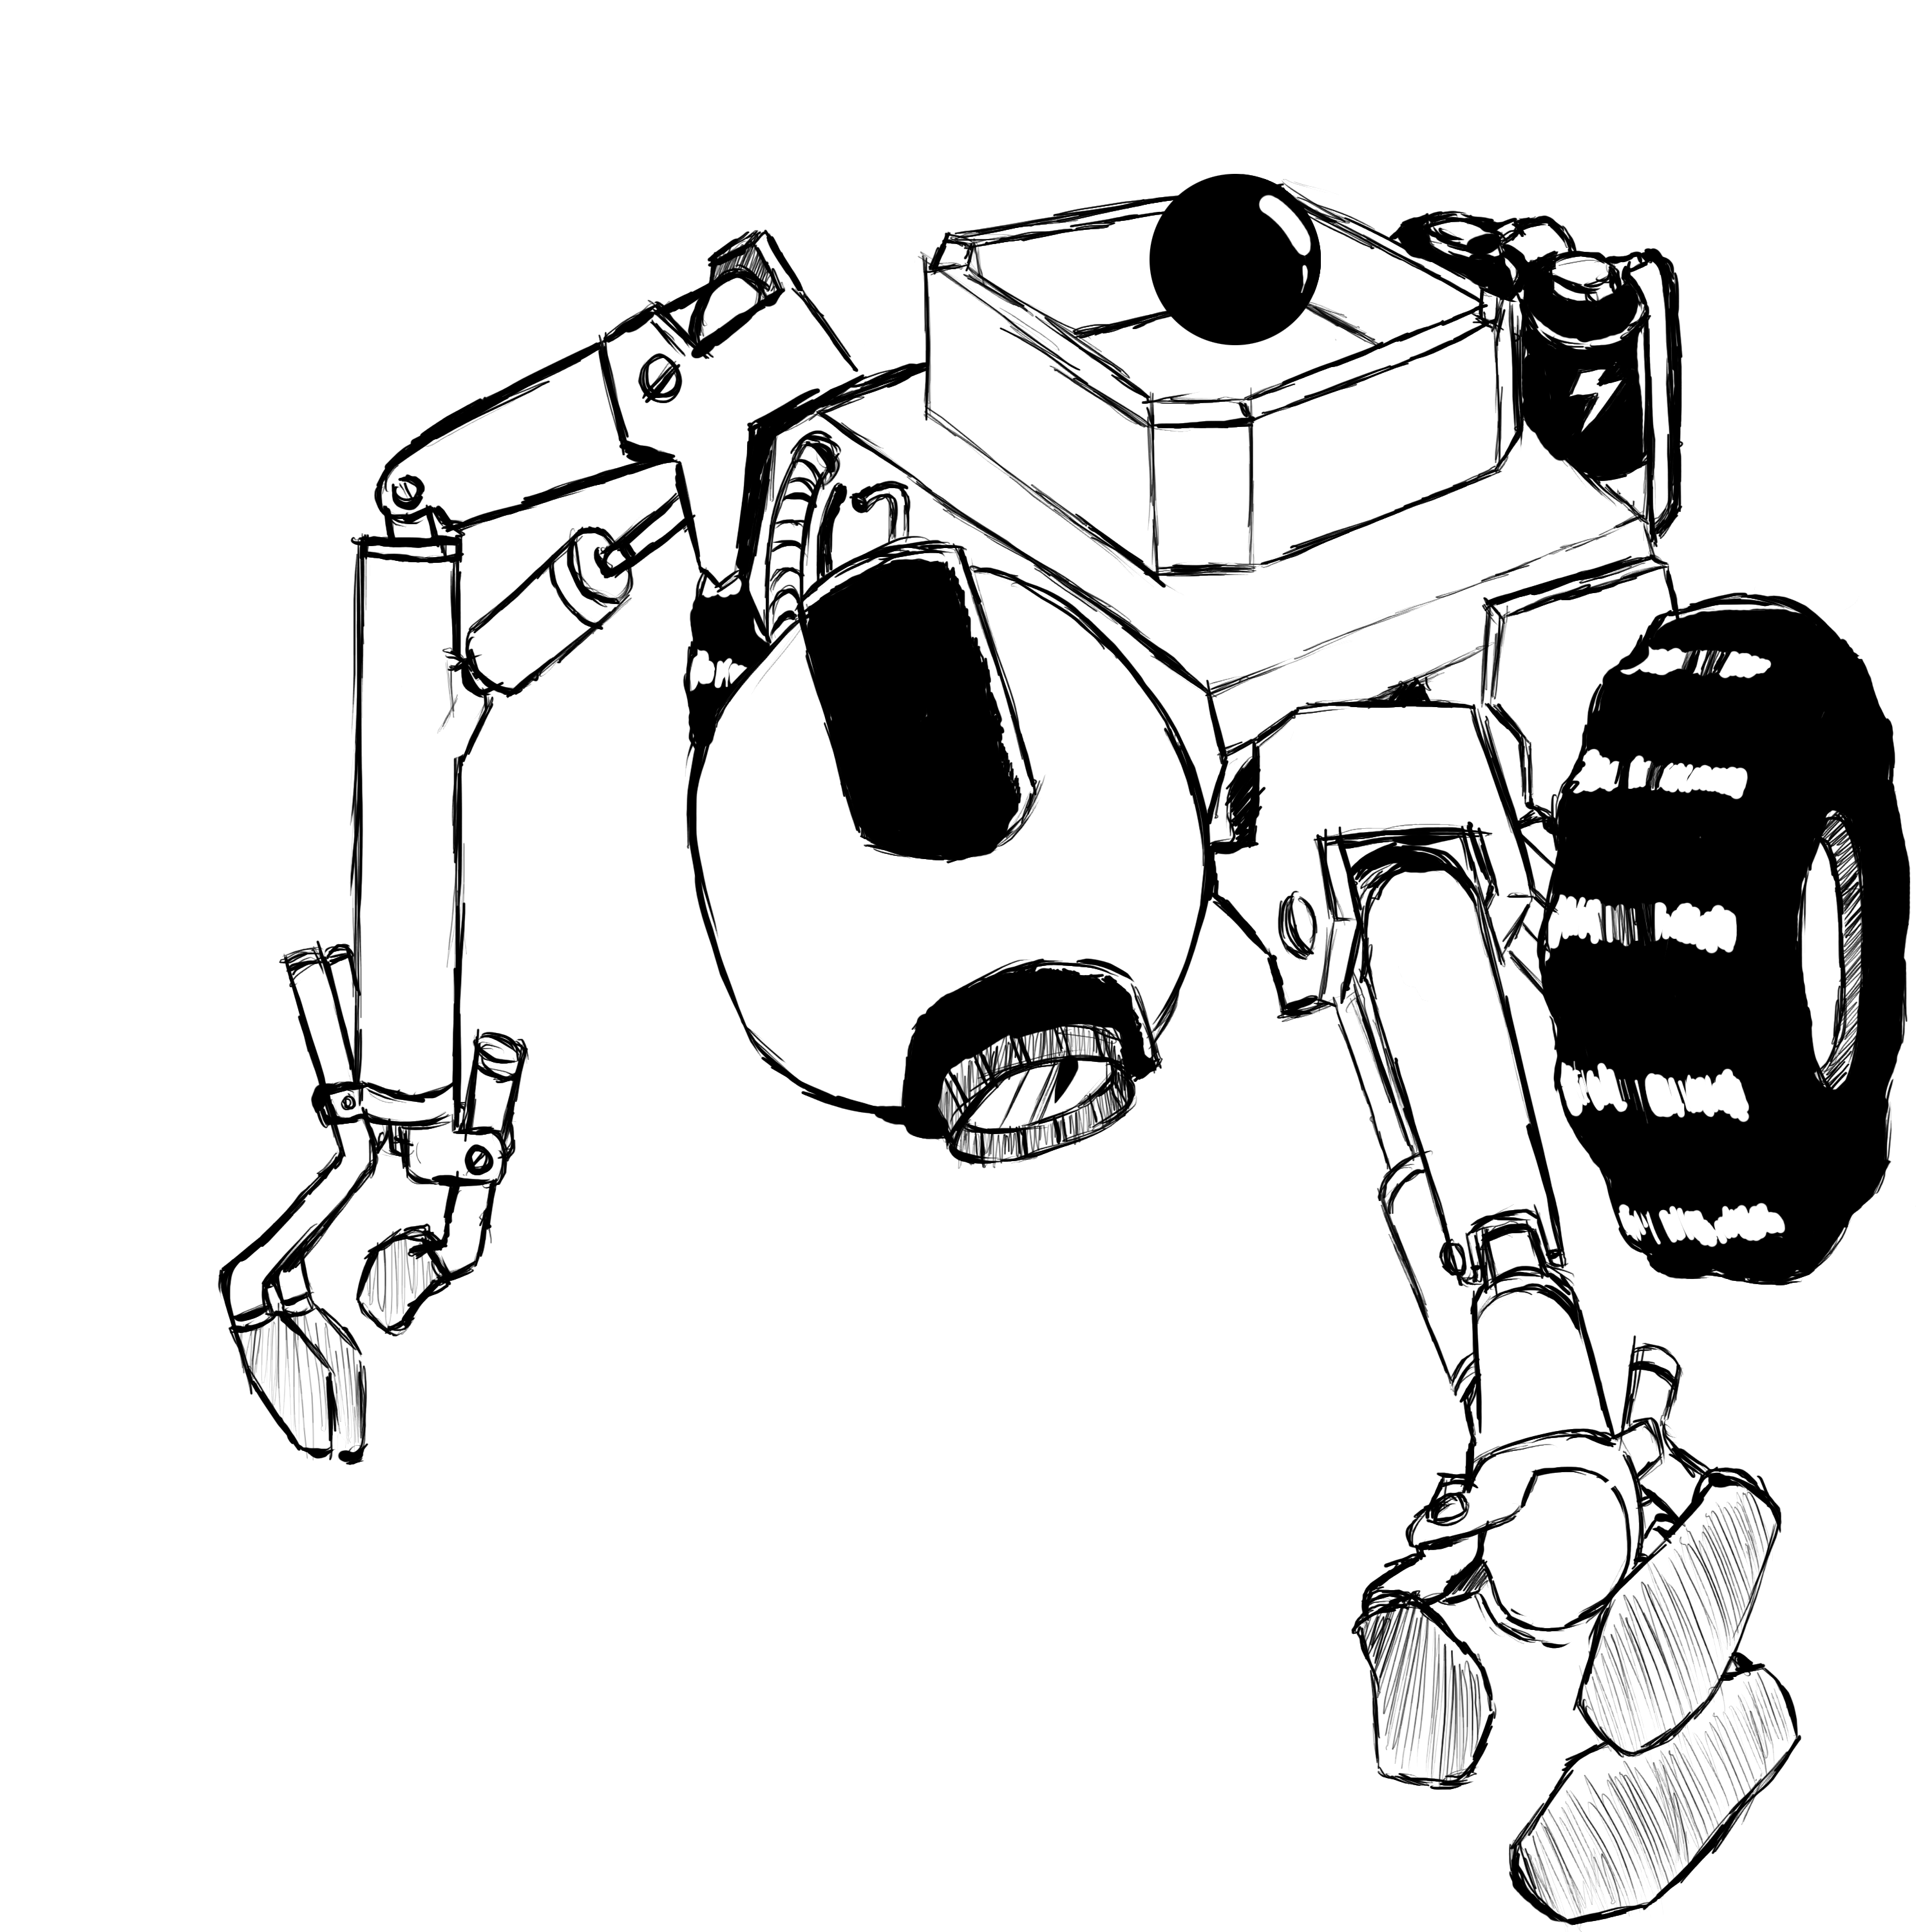
6. DeltaBot.

I'm going to have the coolest thesis ever ^_^.

7. Write an Instructable on manipulator robotics.
I've learned a lot in the past few years, time to spread the love. But first...

8. Design and build a ~7-DOF robotic manipulator. A la KUKA arm.
I've been controlling these bad boys, now it's time to be a Mechanical engineer for once. 

9. Pay attention to TurtleBot.

Of my children, I've been giving a lot of attention to TinyArm and none to TurtleBot, and I don't think TurtleBot can handle neglect much longer :c. Time to turn that around. I owe Shane a SLAM map of the IDC before he goes off into the Real World (c). 

10. Get TurtleBot+TinyArm playing together.
I still hold myself to the dynamic duo, TurtleBot and TinyArm, getting me a soda. Maybe now that TinyArm has learned how to talk, and with the release of ROS Groovy Galapagos I'll finally make it happen. 

11. Learn ROS. Like really learn ROS.
Willow Garage released its sixth distribution of ROS today, Groovy Galapagos. It's cleaned up a lot, and is apparently easier than ever to use. It'll happen when I try and get TurtleBot+TinyArm to get me soda. 

12. Learn C++. Like really learn C++.
See above.

13. Get a summer internship.
I cannot spend another summer at MIT UROPing. I need to see the world. See what industry is like. I need experience. I need to make a difference. I'll probably apply in the next few days...

09 November 2012

Raspberry Pi!


I got a new job at the Biomechatronics Group in the MIT Media Lab. But that's not what this post is about, it's about the 
RASPBERRY PI!

What is a Raspberry Pi, you ask? 

SO CUTE! ^_^


A Raspberry Pi is a full Linux computer the size of a wallet. Its 700MHz (256MB RAM) ARM CPU/GPU runs off a 5-volt 1-amp power source, like a phone charger. It has a built-in ethernet, USB, HDMI or composite video out, a useful GPIO (So you can set use IO pins like an Arduino, use UART, SPI, I2C, and other communication protocols). You can plug in a USB hub to use flash drives, keyboard and mouse, a WIFI adapter, an external hard drive...

It's supposedly $25.00 from the manufacturer, but an Amazon search puts us at $79.95 for the latest one, Rev B. Not bad for Amazon Prime free 2-day shipping. As for availability, it tends to go out of stock often. I feel this was a bigger issue in the past, though. 

I also highly recommend purchasing Raspberry Pi User Guide, written by Eben Upton, Co-Creator of the RPi. It not only details the RPi itself, but the recommended modified version of Debian Linux it runs. The Raspberry Pi and this book is an excellent way for anyone to become learned in Linux and python, two skills I deem highly valuable in being able to get things done. 

The Raspberry Pi is a really nice next step up from an Arduino in terms of DIY Electronics projects. The RPi is perfect for hobbyists looking to use the massive catalog of software available for Linux with the simplicity and speed of Arduino. Funny thing is, this Raspberry Pi is being used for Legit Research. (We're using a $800.00 Maxon motor, a $740.00 Servo Driver/Controller, an external fabrication shop to make our parts...)

After a few attempts to flash the RPi "Raspian" Raspberry-infused Debian OS onto a 32GB SD Card (The main storage method of an RPi), I managed to get write the image in Windows. 

After booting up the Pi, you log in with user "pi" and password "raspberry", and are at the main command line. To start the LXDE GUI, type in "startx". 
YAY!
It comes with Python IDLE, Midori web browser, and other useful little tidbits. It's an $80 Linux box the size of a wallet running on all solid state hardware (No spinning hard drives to deal with). Catch is, it's SLOW. 

Doing anything on this reminds me of back when my primary computer ran Windows ME. Those were dark days indeed...

However, this thing is so tiny, so cute, so inexpensive, so available, and so powerful for the size, that I am SO putting one of these on a robot one of these days.

17 July 2012

NerdKit: OMG CNC MACHINING

CNC: Computer Numerically Controlled.
Or, in layman's terms: Robotic. 

I've had the pleasure of using a CNC mill for the first time to make a new mold prototype for the NerdKit I am so diligently working on at my job this summer. And it's one of the coolest things I've ever used in my life. 


This prototype combines many aspects that are closer to the final product: a CNC milled mold, a caselike structure, an insert for compartments and such, a flush hinge, and better designed snapfit invagination/exphallation fasteners.


Also, I've figured out a trick in Solidworks to quickly "prototype" a mold without having to go through the Mold Tools. If you model a mold you can use the Shell feature on the part, which normally removed material from inside your part. If you choose "shell outward", you effectively form the part using a specified thickness material. Then you can "take it to a bandsaw" by cutting away excess "material" and...


...Voila! Much simpler than those gurshdurned mold tools. 

There's a handy Solidworks extension called HSMWorks Express which is the free 2.5-Dimensional cousin to the full 3-D CAM program HSMWorks. While machining in X and Y along a certain Z is all I need for this mold, 3D milling is nice for smooth curvatures and fillets. Unfortunately, I have to take into account the limitations of Express in my designs for CNC. 


But it doesn't come out so bad!

Someday I'll do some 5-axis CNC milling...


Engineer daydreams...


Here is some of that High Density Polyurethane I will be using as a stock material, mounted onto the Bridgeport EZ Track CNC mill.


Once I've localized the mill at the stock's origin, I'm ready to rip...


It even gives you an option to call for a tool change halfway through machining, so I can switch out the flat endmill for a ball endmill and touch it off before it cuts the hinge channel in the center. 


Can you see the resemblance?


And the next day it's off to the vacuum former! I drilled dozens of tiny holes along the hinge, edges, and invaginations to ensure the plastic truly takes the shape of the mold. 


I was sure to add plenty of this special non-stick spray to make the removal of the mold from our cheap plastic easier. 


Because of the small scale, I had issues with the material webbing along the hinge, but I managed to get one good part.


The insert my coworker made from a CNC mold fits perfectly.


The live hinge works pretty well, too! We'll have to test the design with the type of plastic we're using for the final product, however. 

Next, we make a full-scale prototype!

28 June 2012

The Nerdkit: Invaginations And Exphallations

Or, how Rule 34 of the interwebs still holds true for Engineering blogs.
I guess the words of the week are Invagination and Exphallation. Two words that sound dirty, kinda are, but really aren't. I haven't been able to find them on standard dictionary websites, but MIT professors say them all the time, as do some of my manufacturing textbooks, so they must exist.


To put it simply, this picture depicts an invagination, which you can imagine is a hole of some sort, and an exphallation, or protrusion. Their geometry isn't perfect, but when you snap the exphallation into the invagination, the invagination's thin walls move to receive the exphallation and hold it together.
*shudder* I feel dirty. Let me explain:
I'm doing some undergraduate research this summer! I am working at the Laboratory for Electromagnetic and Electronic Systems (LEES) as a mechanical designer. Our overall project is the design of various aspects of a potential new class for EECS freshman to get their feet wet. 


Particularly, we're designing a NerdKit, which is a container of sorts with some circuit prototyping elements such as breadboards, power supplies, a function generator... It should be compact, full-featured, and be able to fit in a student's backpack. Also, the students make it themselves using a manufacturing technique called Thermoforming, the process of draping melted plastic over a mold and using vacuum suction beneath the mold to eliminate all air pockets, reproducing the object defined in the mold.


To start things off, my coworker and I are prototyping the more intricate design aspects: fastening and hinges. Here are the molds we made out of High Density Polyurethane, copying the design of an apple container we had lying around.


Some thermoforming process pics and a vacuum fail... 


And the thermoformed pieces! The insert fit into the container like a charm, though it took some modifications to get my hinge snapfit thing working right...


 To get suction in hardToReach spaces, I had to drill some holes in the mold. This allowed the plastic to form closer to the mold, resulting in...


This working snapfit: much better! That invagination and exphallation look so happy together :3. The hinge and snap fit took a few iterations to get right, but worked well! Issue with this design, however, is that the part is made facing up, and closes like a book upon removal from the machine. The parts I'm making for the case of the Nerdkit are all made facing down, as if the book were placed with the cover up. The hinge that worked for the up-facing part will not work for the final product, so I need to design a better hinge that can take a beating and will work for the down-facing final product.
Good thing I have all summer!
Unfortunately the mold broke as I was removing it from the part, probably because it was too thin: HDP is expensive shit so we were frugal with out molds. Next time I won't be so cheap, and will use a urethane release spray.
My next endeavor will be learning to 2.5D CNC mill my molds of some other test hinges. I feel most of product design is iterating through your ideations until you find a prototype that works... gives me new respect for product designers. (PS: Watch the documentary Objectified, it's awesome.)